Add a Category
Adding a Category
Step 1: Navigate To The Web Pages Section

![]()
You can either use the tabs at the top, or just click the Web Pages icon on the Dashboard. If you don't see this icon, you need to ask your main website administrator to grant you access to edit web pages.
Step 2: Add The Category
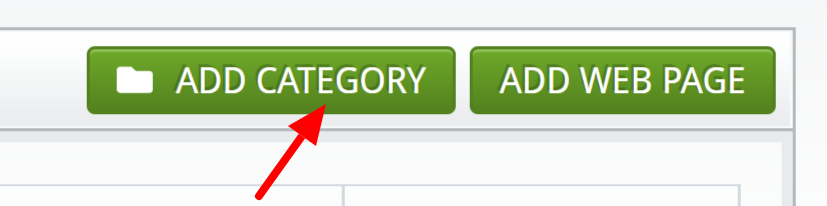
Click the green "Add Category" button near the top-right corner of the page. Once again, if you do not see this, you do not have access to add categories and will need to ask your website administrator for access.

Give the new category a title. Your "Category Name" should only be one to three words in length.
Next, select a "Parent Category". This will determine which section/category the new web page will be placed in (similar to a "folder" when organizing files on your computer).
Double check everything is spelled correctly, then click the green "Create Category" button. You're all done!