How To Approve New Parishioner Accounts
> Help Desk > Tutorials > Parishioners Area > Approving A Parishioner Account
Approving A New Parishioner
Step 1: Navigate to the Parishioners Page
![]()
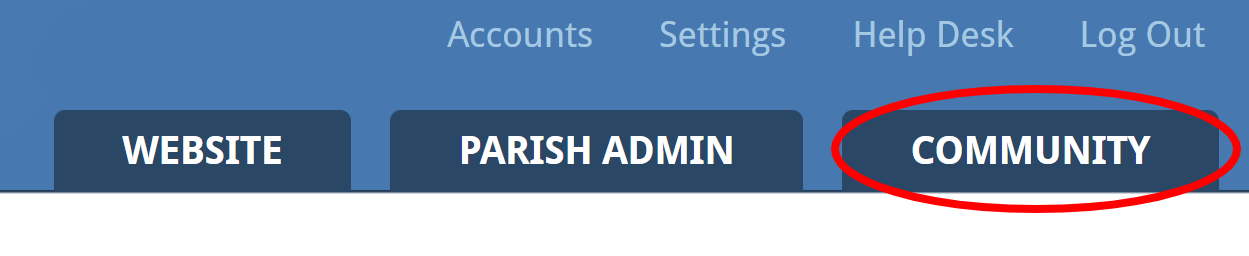
After you have signed into ParishPal, click on the "Community" link in the top-right corner of the page. Next, click the "Parishioners" icon.
Step 2: View Parishioners Awaiting Approval

The number of parishioners awaiting approval will be indicated next to the "Parishioner Directory" heading. This is a button, which you can click on to view those parishioners awaiting approval. Click it!
Note: If you do not see a "Pending Approval" button, then you do not have any parishioners currently awaiting approval.
Step 3: Approve or Reject Parishioners


The parishioners awaiting approval are listed, along with two icons - one to approve the request, the other to delete the parishioner. Click the "approve" icon (it looks like a green checkmark) to review the parishioner's full details, then click the "Approve" button to confirm the parishioner's approval.
Of course, if you wish to do the opposite - to reject the parishioner's request - simply click the red "delete" icon (looks like a red "X") next to the parishioner's information and follow the prompts to remove the request from the website.
You're all done!